

How To Repair A Retaining Wall With Railroad Ties
Front Yard Remodel Part ane
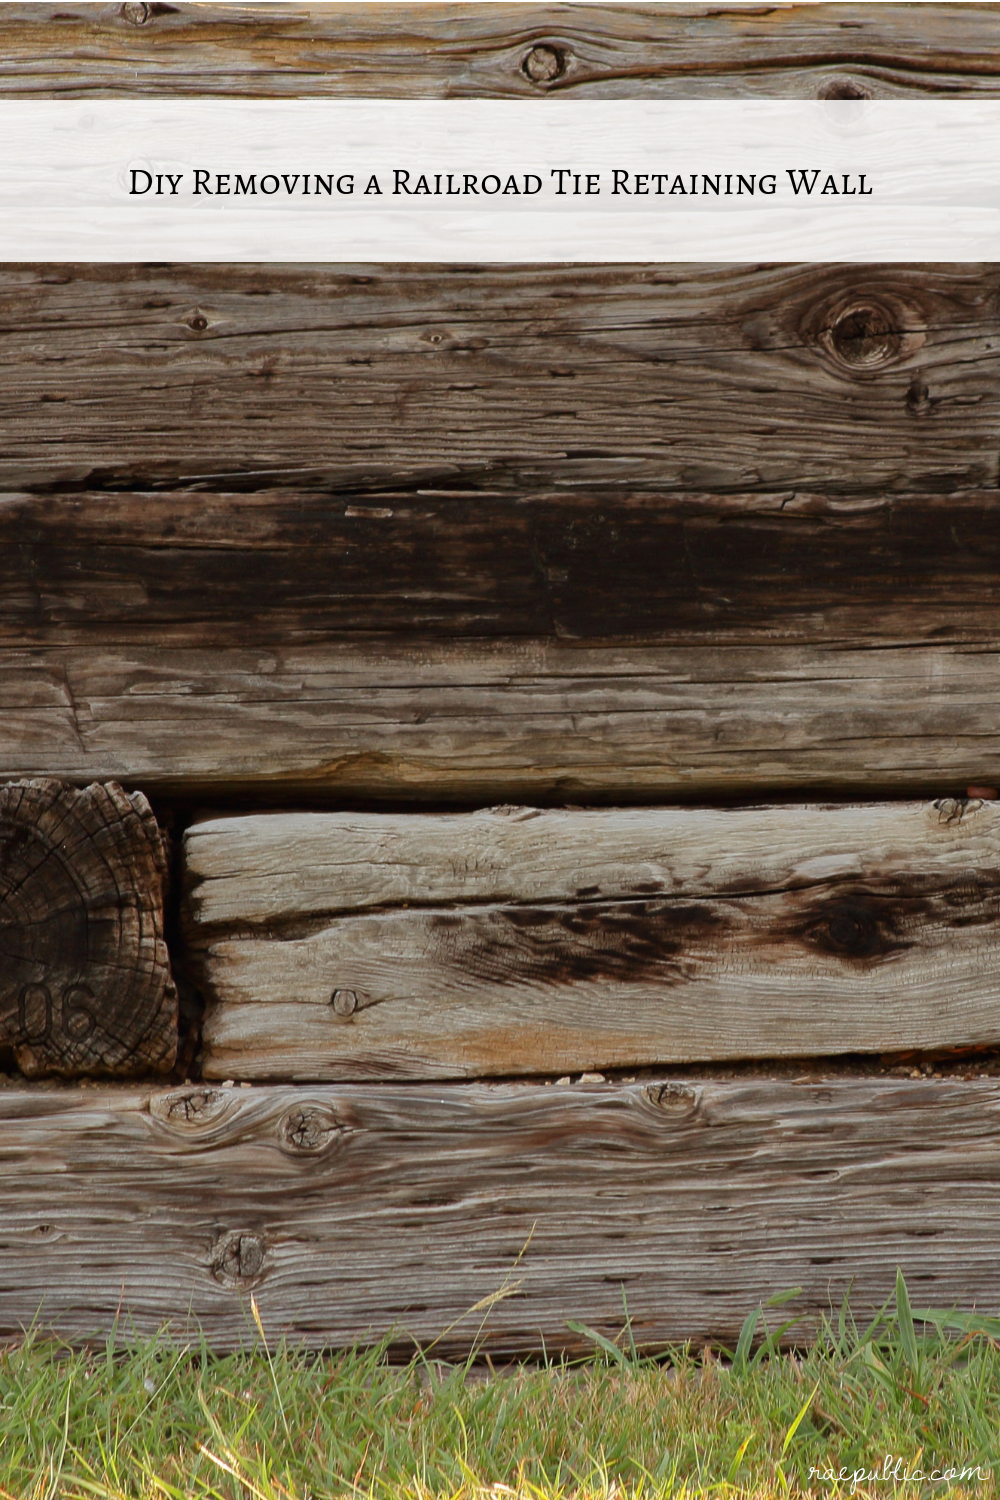
This weekend we ripped out a railroad tie retaining wall that was in our forepart yard. When nosotros bought our home a few years ago it was there, property up a portion of our yard. We assume that the retaining wall had been there for almost 30 years or so since our business firm was built in 1985. Thankfully for us the majority of them were at least partially rotten because permit me tell yous eight foot long railroad ties are heavy!
We decided to remove the railroad tie retaining wall partially because it was slowly simply surely rotting away but too because railroad ties contain creosote which isn't a good affair to be soaking into your soil especially if you are planting anything that is edible nigh them such as huckleberry bushes etc. Our one thousand program is to supercede the old retaining wall with a stone wall and so create an amazingly delicious and wonderfully appealing edible landscape in our front chiliad.
I ripped out about i/2 of the wall on my own while Jon went and got his company'south dump truck. When he returned we went downwardly the line loading railroad ties into the back of the truck and raking upwards the small pieces since a lot of them were rotten. The hardest expanse to tackle was the section where the two walls meet at a 90 degree angle (shown in the third picture below). Railroad ties were wedged into each other and there'southward iii copse lining that area along with a cable box and some sort of other electrical box of sorts.
For the majority of the retaining wall I just used a short handled flat headed shovel to pry the railroad ties upward and away from the depository financial institution. Thankfully for us (the people ripping it out) who ever built this wall didn't rebar the ties together or exercise anything extra to assist them stay in place permanently besides just stacking them on tiptop of each other so that plus that fact that many of them were rotten, this wall was relatively easy to remove.
TIPS & TRICKS:
-
Call your local dump at to the lowest degree a few days alee of time to meet what their requirements are for dumping railroad ties. In Kitsap Canton, Washington State we had to get a special allow alee of fourth dimension from them and likewise brand certain that none of the railroad ties exceeded viii feet in length.
-
Wear a long sleeve shirt, long pants, gloves and condom glasses. The creosote in the railroad ties tin can be glutinous and will rub off on anything it comes in contact with.
-
When all is said and done, launder the dress you wore during this project separately.
-
A flat headed shovel worked great for me, Jon preferred using a pickaxe on the stubborn ones.
-
If you have admission to a dump truck that can be very helpful because otherwise you'll accept to unload the ties one past one at the dump.
-
Remove and dispose of the soil that previously surrounded the railroad ties and replace it with some fresh soil.

Next, we are installing a rock retaining wall in information technology'south place so stay tuned for pictures and a post on that! Our front thousand is this yr's projection for us.
If you're loving this blog post about removing a railroad necktie retaining wall let u.s.a. know by commenting beneath. As well, remember to share with us on social by tagging @Raepublic and #Raepublic!

How To Repair A Retaining Wall With Railroad Ties,
Source: https://raepublic.com/diy-removing-a-railroad-tie-retaining-wall-part-1/
Posted by: hubbardcomys1975.blogspot.com
0 Response to "How To Repair A Retaining Wall With Railroad Ties"
Post a Comment