

How To Repair Without Soldering
Learn the unlike ways on how to set your frayed or broken headphone wires using this like shooting fish in a barrel to follow step-by-step guide.
Headphone cables are one of the most fragile parts of whatsoever headphones but it's also i of the about overlooked. With every yank, twists, and turns, your headphone wires get exposed to faster wear and tear, causing it to fray or be completely torn off.
What'due south worse is if you have extra care of your headphones only to go home ane day and discover them chewed out past your pets.
If that happens, don't throw away your headphones simply withal! There are a few like shooting fish in a barrel DIY fixes you can practice to set up your headphones' fraying/cleaved headphone wires. And this commodity will guide you through all that.
Are Exposed Headphone Wires Dangerous?
The full general answer is no .
While headphone wires still run on electricity, these wires run on a very low volt. The voltage level of these wires depends on the headphones' impedance.
They are generally not at the level that is enough to crusade electrocution, though. This means that you won't feel anything at all even when you lot accidentally touch information technology.
However, while exposed headphone wires aren't exactly chancy when touched, your audio device may not be as prophylactic as you.
Exposed headphone wires are more decumbent to short circuits. This often occurs when the wire insulation is already worn out or exposed.
Curt circuits happen when excessive accuse flows to an unintended wire. It can cause overheating which can impairment your headphones and your audio source.
With that said, recall that any exposed wire can also cause electrical sparks. And, regardless of voltage, these electrical sparks accept the potential to kickoff fires . In fact, fifty-fifty static-discharges are sufficient to ignite flammable vapors in the air.
How to Fix Headphone Wires That Are Start to Fray
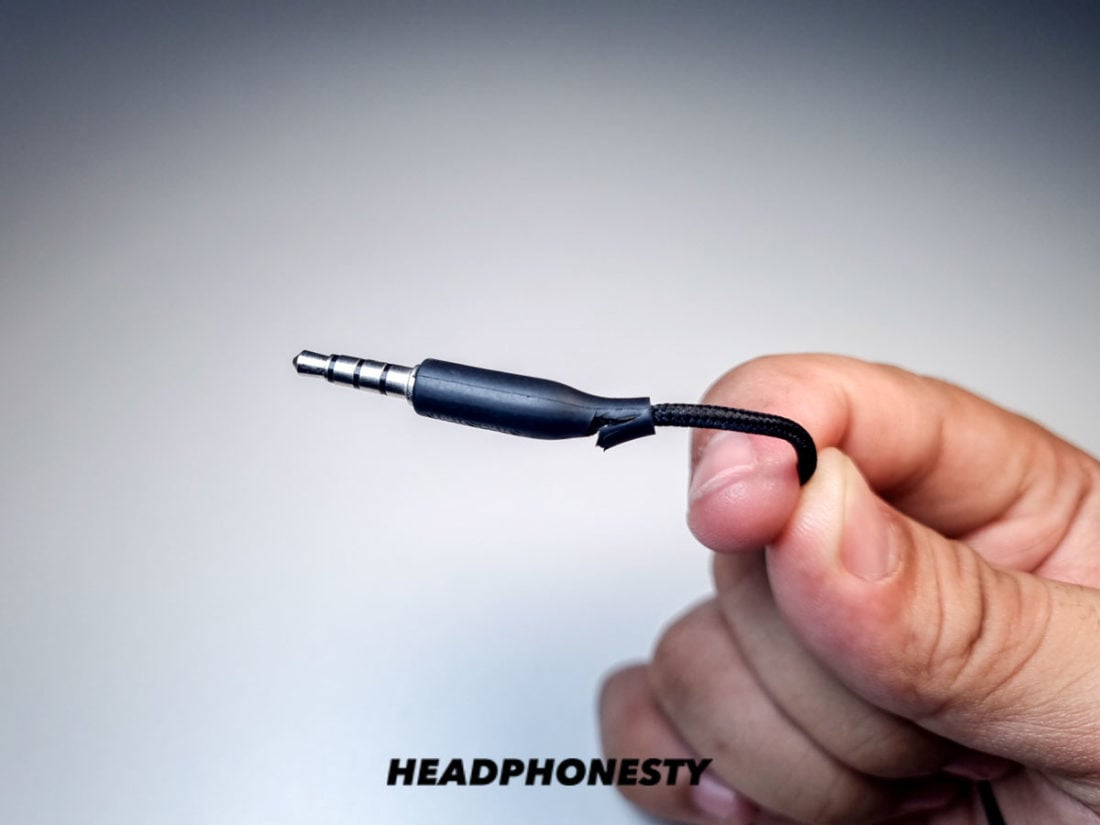
Headphone cables, especially the part closer to the plug, are prone to fraying. This normally happens when they become exposed to frequent yanking, bending, and tugging. Or when the jack is constantly pushed inside the audio port when they won't stay in place.
For fraying or exposed wires, there are quick fixes that require picayune money and try to exercise.
Hither are four easy headphone wire repair tips yous should try:
- Wrap it with electrical record
- Use heat-shrink tubing
- Mould Sugru effectually information technology
- Use cable savers
Wrap it with electrical record
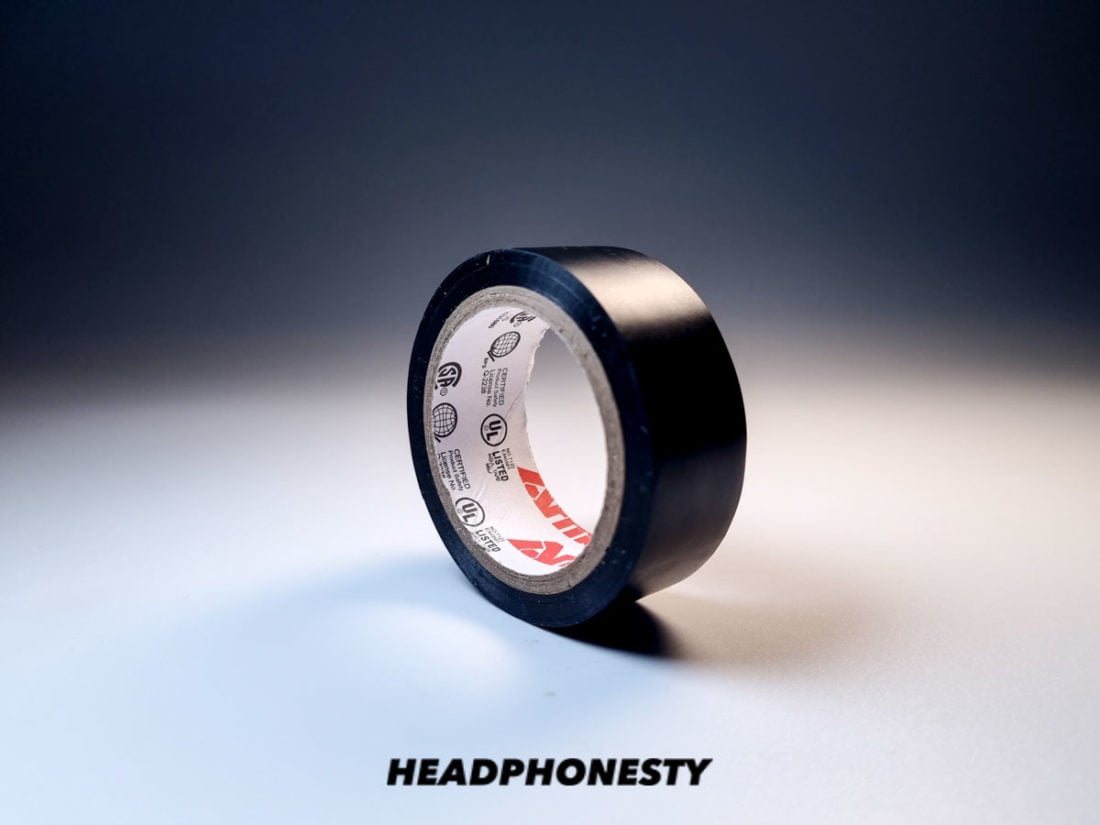
You most probably accept electrical tape in your home. You can try using it for a quick and easy headphone wire repair.
Follow these fail-proof steps:
- Prep your wire. Before anything else, make sure that your headphone wires are clean and that at that place are no traces of oil on them. This will ensure that your electrical record volition stick to the wire longer and more securely. You can practice this by taking a clean cloth and pouring a small amount of isopropyl alcohol on it. Wipe the expanse and let it dry out.
- Pre-cut your electrical tape. Electric tapes vary in size. Pre-cut your electrical tape to your desired size before wrapping information technology around the wire.
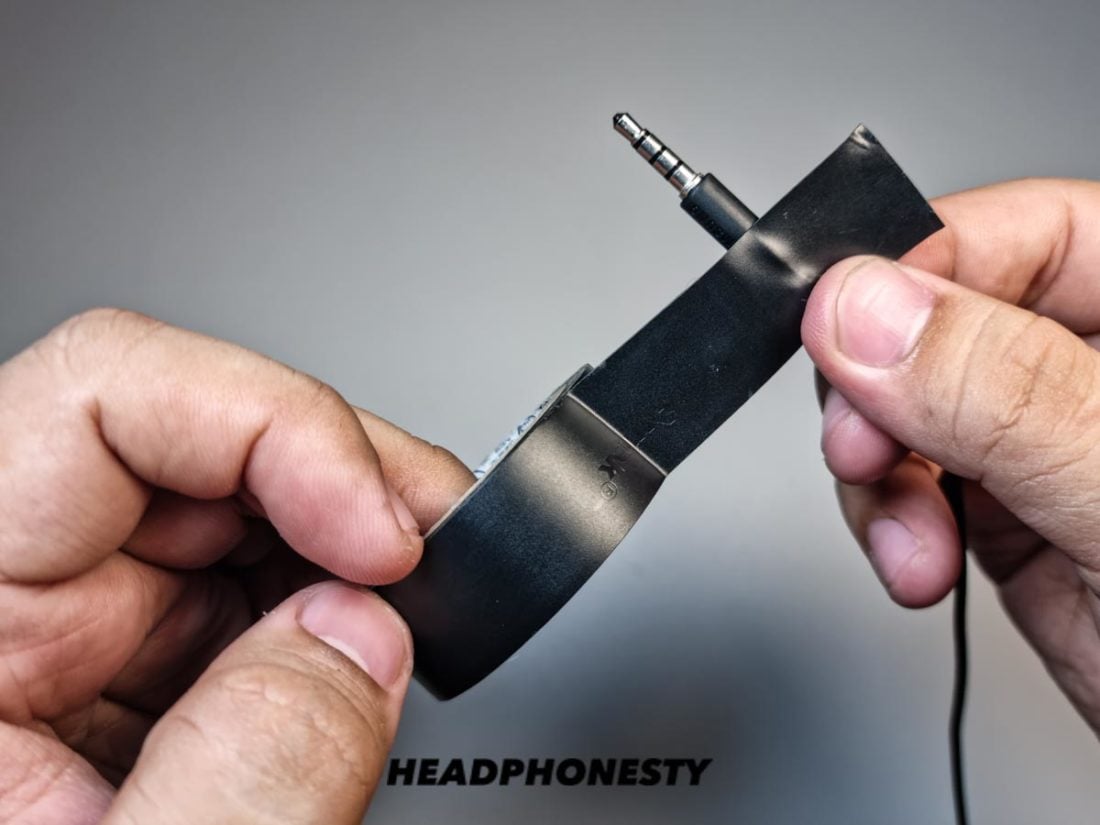
Identify record on the damaged area - Wrap it. Wrap the electrical record around the wire every bit tight as possible. This will not only protect the wire from fraying farther but also insulate information technology.
To have a ameliorate thought of how it's washed, check out this youtube tutorial.
Use heat-shrink tubing
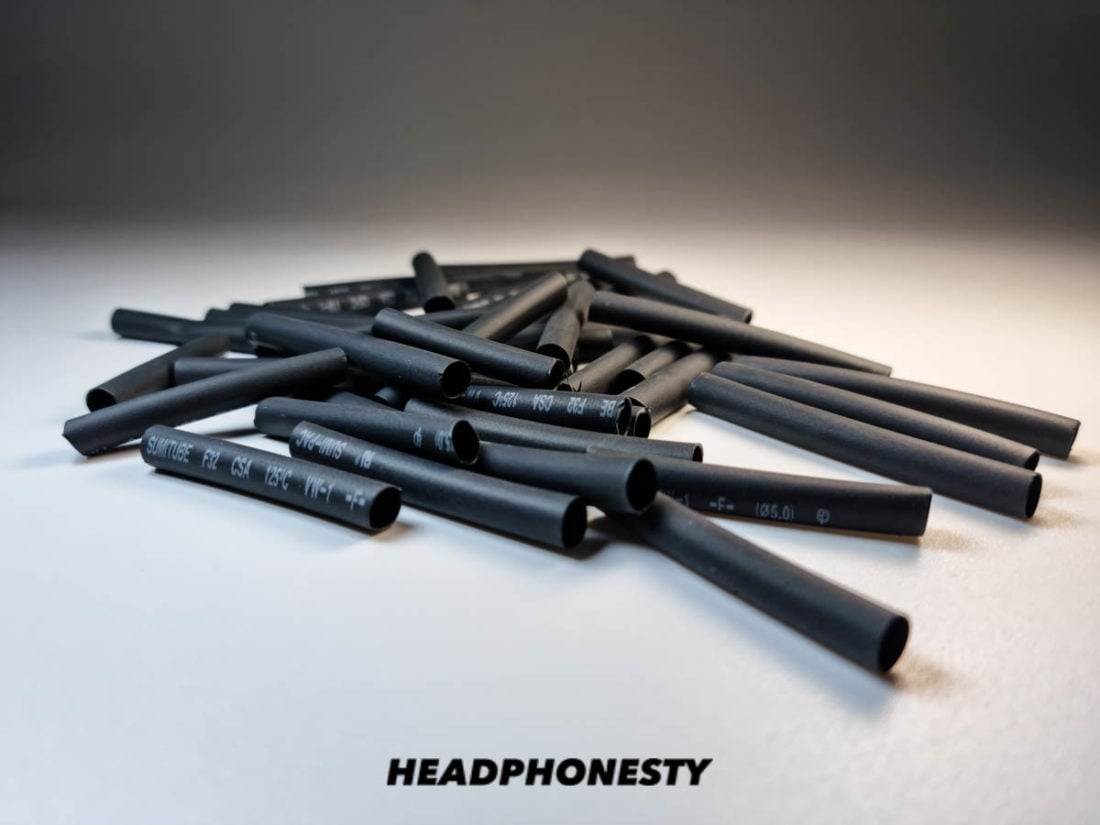
For a more durable and long-lasting set up, you may also try using rut-shrink tubings/estrus-shrink sleeves. These tubings are primarily used for repairing, reinforcing, and insulating frayed electrical wires.
Here are the steps on how to utilize them:
- Bank check the material. Heat-compress tubings are normally made from plastic materials such as polyolefin, FEP, or PVCs.
- Choose the right size. Choose a estrus-compress tubing that matches your headphones' cablevision size perfectly and so that a snug and secure fit can be accomplished. Depending on their textile and limerick, these tubings contract between ane-half to one-sixth of their original bore when heated. Pop shrink ratios (the ratio between the tubing's original size and its compress size) include 2:1, iii:1, and four:1.
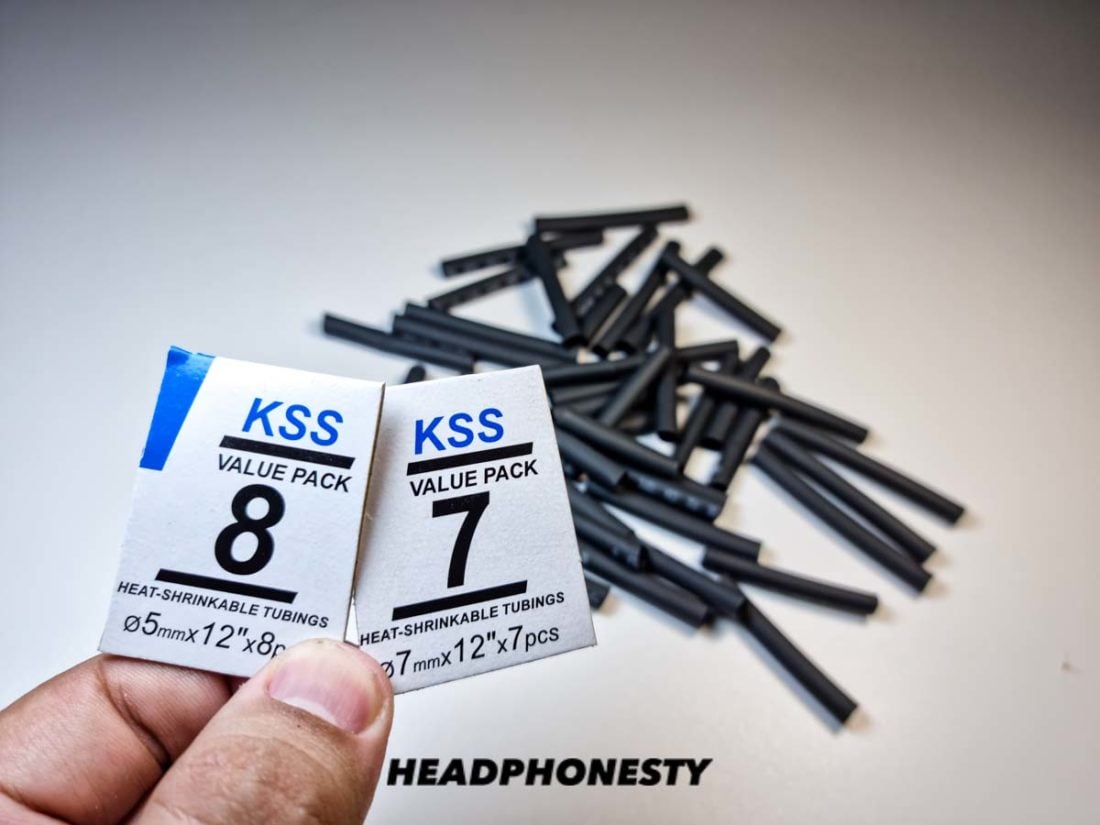
Heat compress tubing sizes For headphone wires, the recommended shrink ratio is 2:ane as this size offers the perfect balance betwixt durability and flexibility.
- Clean the area to be wrapped. Brand sure to rid your headphone wires of any backlog debris or grease. Accept a make clean cloth and cascade a pocket-sized amount of isopropyl alcohol on information technology. Wipe the area and let it dry.
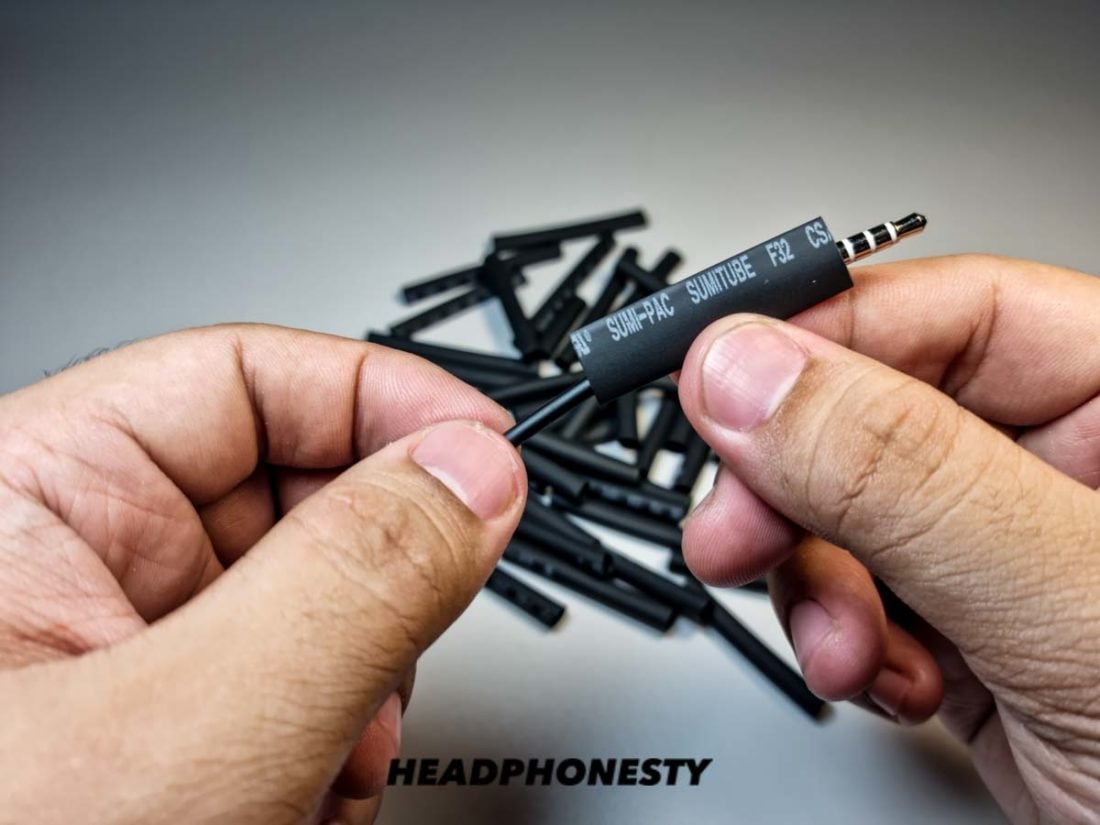
- Insert the tubing into the headphones' cables. Carefully insert the tubings into your headphones' frayed wires. If you're using the wrap-around heat-shrink type, make sure to wrap it as tight as possible for a more compact end.
Insert the tubing on the headphone cable - Apply oestrus around the area. Y'all can rut the area past using the heating device that comes with the heat-compress tubing kit, by using a hot air gun, or a lighter. Y'all tin refer to this youtube tutorial to come across how to properly apply heat around the tubing.
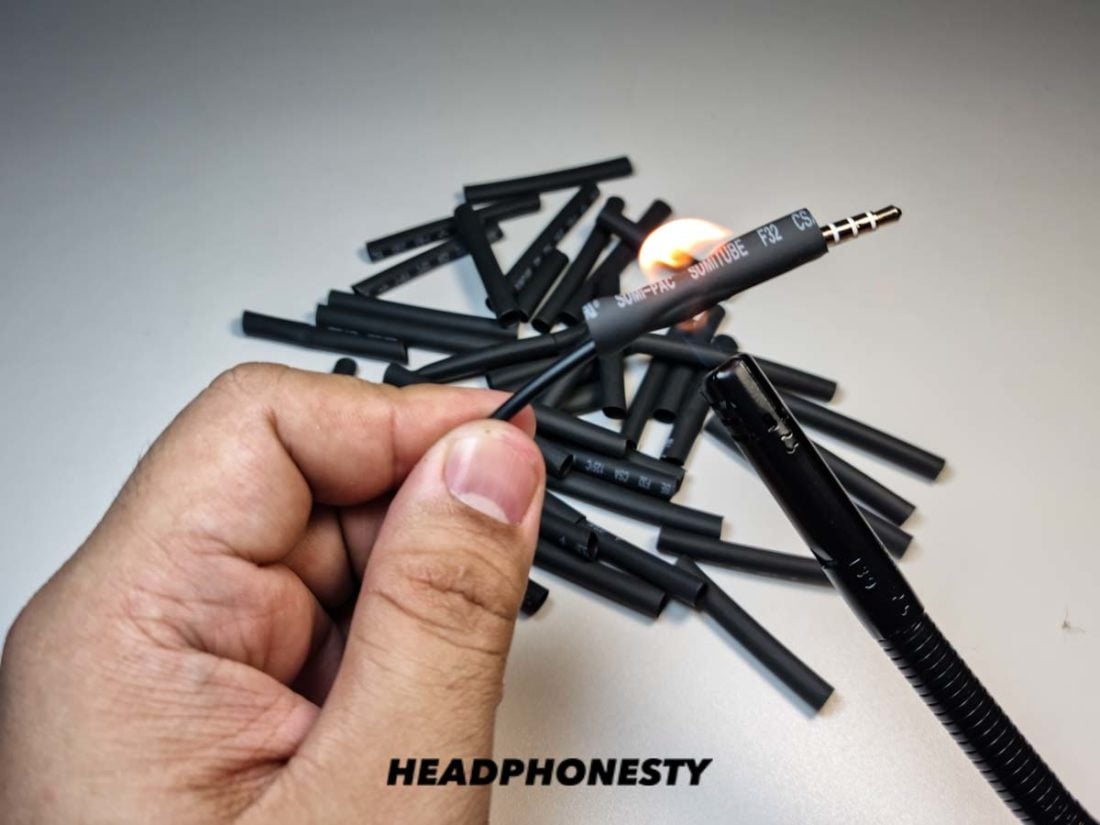
Applying estrus on tubing to constrict it
Exist careful not to overheat it as it can melt or catch fire. Brand certain to use a plier or anything to hold the tubing in place as hot air guns/lighters can burn down your fingers.
Mould Sugru around it
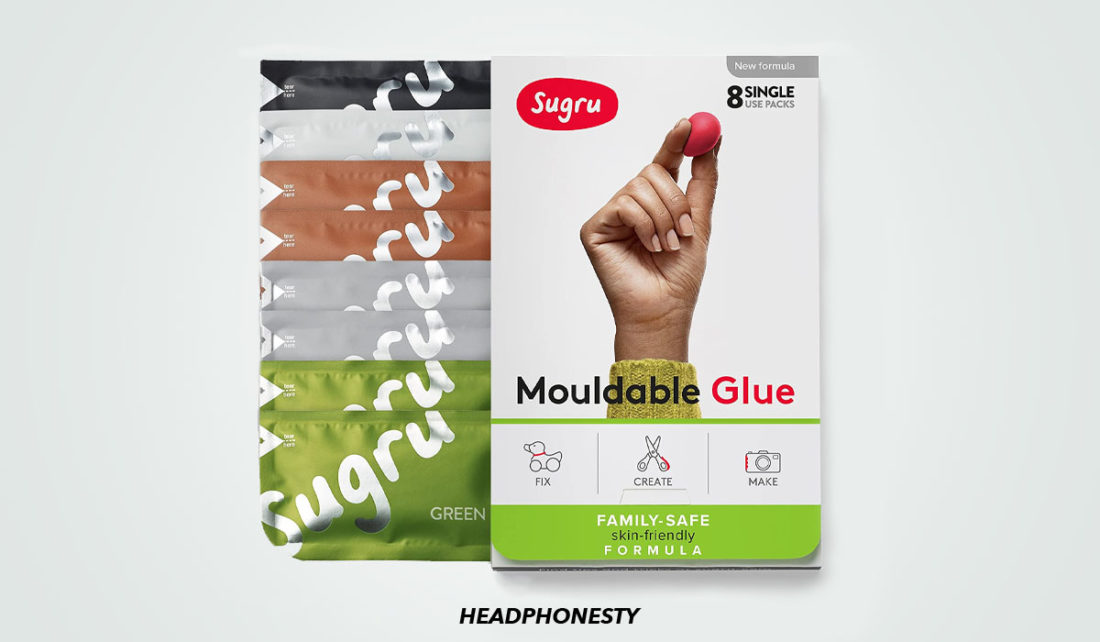
Sugru Mouldable Gum is an all-around moldable adhesive putty made of silicone rubber. Yous can apply this for DIY crafts, mounting needs, electrical repairs, and and so much more. It is moldable, flexible, durable, waterproof, and has good insulation backdrop.
Here'south how you can use it to repair your frayed headphone wires:
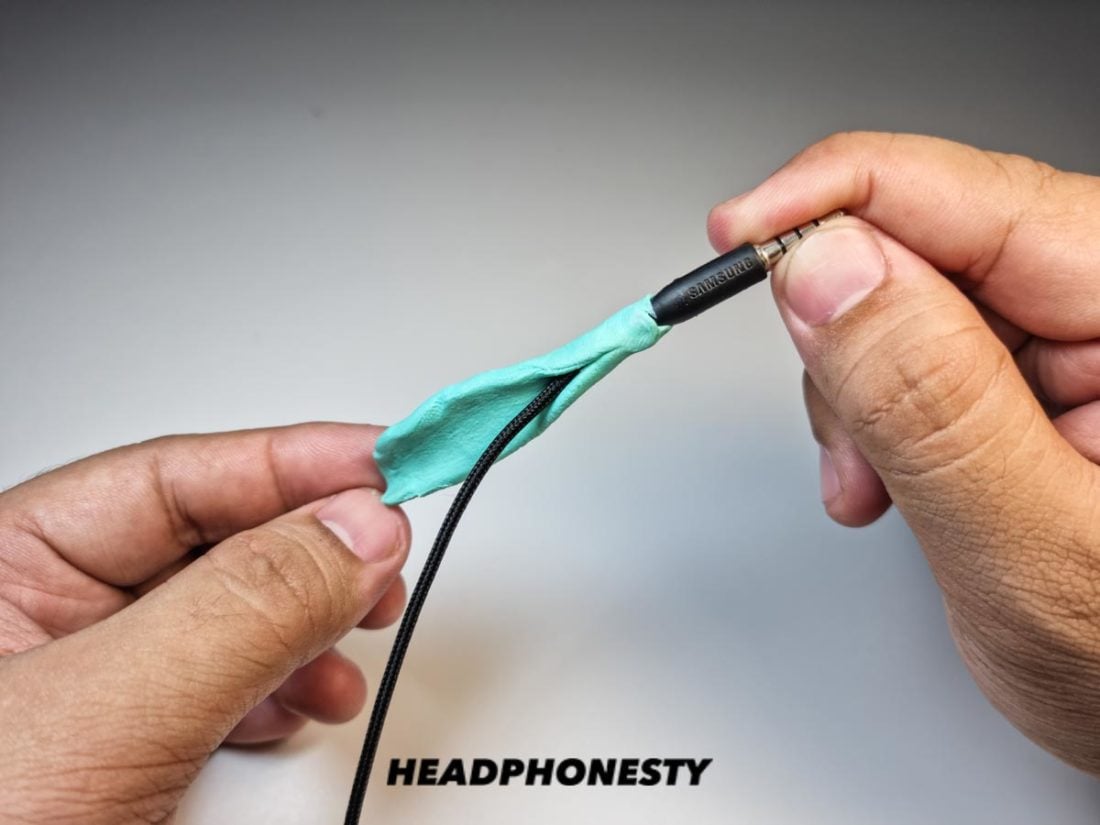
- Clean the wire. Clean the area around the wire with isopropyl alcohol to rid it of whatever excess dust, debris, or oil. Take a clean fabric and pour a small amount of isopropyl alcohol on information technology. Wipe the expanse and let information technology dry.
- Mold it. Sugru Mouldable Glues are soft and malleable like play-dough. Gyre the fabric in your fingers and mold information technology around the wire using your hands. You have more than or less 30 minutes to shape and reposition it as desired earlier the glue sets.
Mold Sugru around the headphone wire - Exit information technology for 24 hours. Leave the textile at room temperature for at least 24 hours to enable it to gear up permanently.
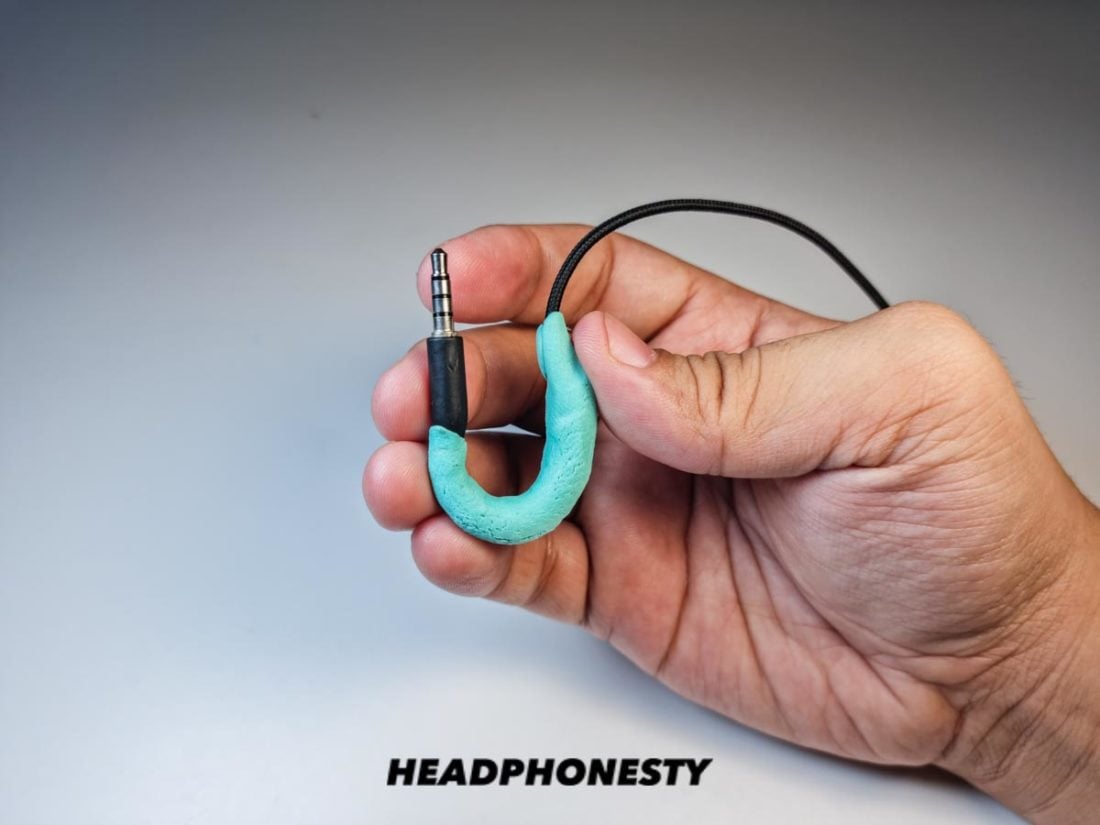
Formed Sugru on wire
Cheque out this video to meet how to repair your fraying headphone wire with Sugru Mouldable Glue.
Apply cable savers
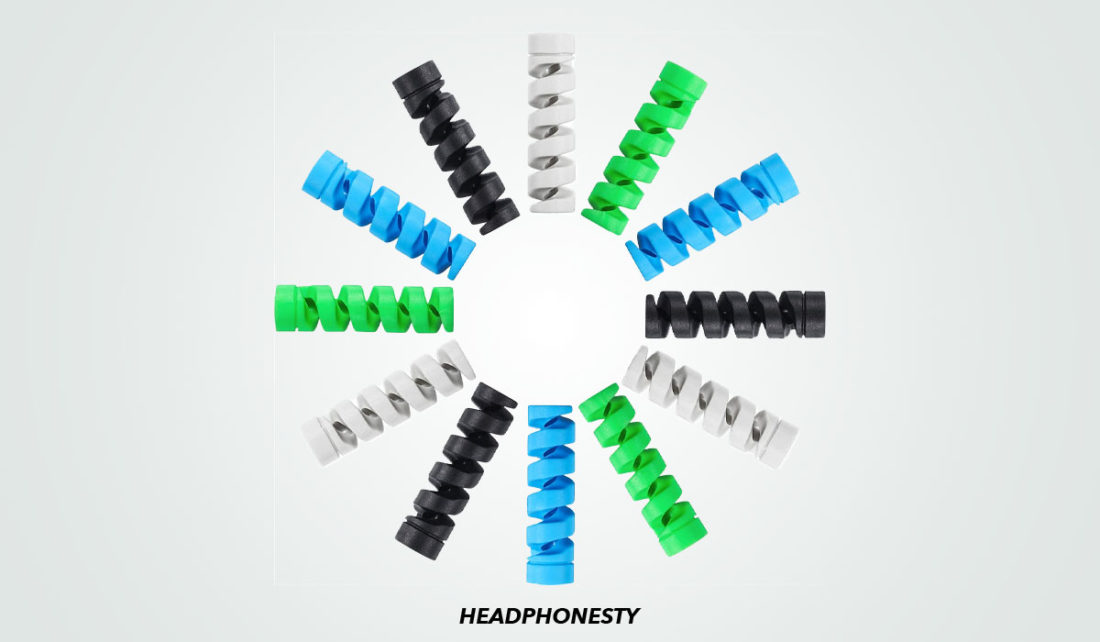
If yous're not much of a DIY person and you want a quick and easy fix, you lot tin can attempt these Jetec cablevision savers. These are mainly used to prevent wires from fraying. But you can still utilize them on exposed wires to give your headphone cables added support and backing.
You can use them by following these 3 easy steps:
- Choose the right cable saver size. These cablevision savers come in unlike sizes. Wait for the size that would fit your headphone cables the best.
- Wrap. Wrap the cable saver effectually the part where your headphones' wire is beginning to fray.
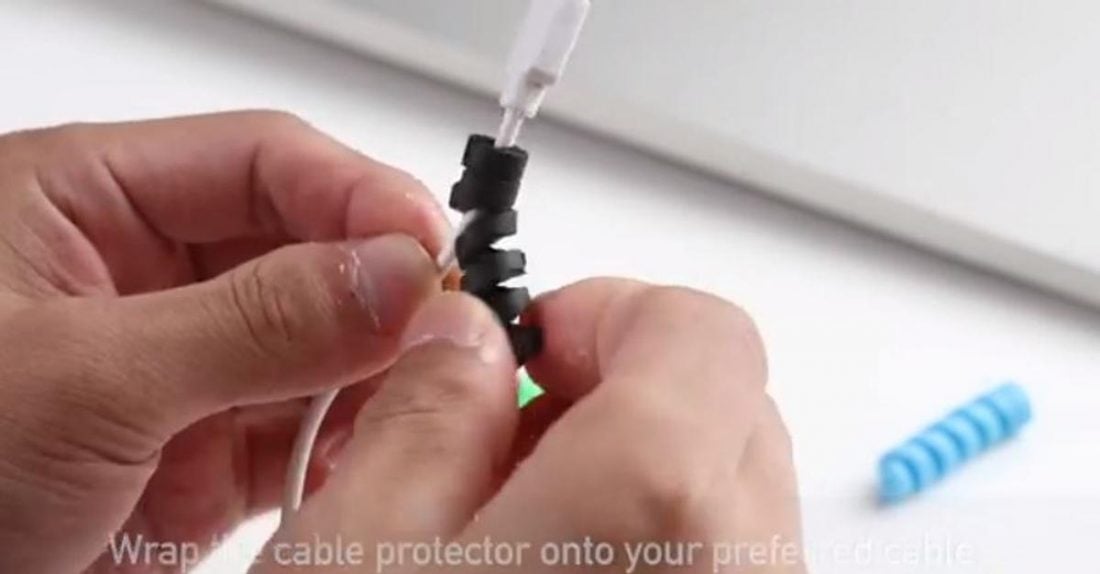
Wrapping the cable saver around the frayed cable (From: Amazon) - Adjust. Make sure to wrap the cable saver up until the very stop of the wire (the part where the headphones' string meets the plug) so that it stays securely in place.
These Jetec cablevision savers only work for round cable wires, non for apartment ones.
What to Do With More than Severely Damaged Headphone Wires
In cases where the wires are more severely damaged (i.eastward. when the wires are completely torn off), hope isn't lost.
There are two ways to arroyo this: one involves soldering headphone wires and one does not. Additionally, if the damage involves the headphone jack, it could be amend to replace the headphone jack as well.
The most secure and cost-effective manner to approach this is yet to brand use of the warranty if possible. So earlier doing any of these steps, check if your headphones are all the same under warranty and if the impairment is covered past them.
These methods are really used to set a lot of headphone bug similar static sound, and headphones only working in i ear.
These procedures prove to be effective near of the fourth dimension. However, they always have a risk of not working, especially when the steps aren't washed properly. If that happens, it's all-time to consult a professional or purchase a new pair of headphones entirely. Merely make sure to follow the necessary protocols on what to practise with broken headphones, so you lot won't see whatsoever bug.
Simply if you are willing to try it, exist certain to follow these steps carefully.
Practise it in a safe and well-lit place and be certain to vesture protective gears.
Repair with soldering
Before yous begin, yous volition need:
- Soldering kit
- Wire stripper/knife/cutter
- Electric record / rut-shrink tubing
- Lighter (or sandpaper)
- Beginning stripping the wire. Strip-off the insulation to reveal the wires inside. If you see two wires that are stuck together, carefully separate the two using a knife/cutter. Remove the outer shielding past running a wire stripper through it little by little (1/4″ to 1/2″ cuts). Keep cutting until you see a broken wire that needs repairing. The inner layer of the headphone cable may reveal differently-colored wires. More often than not, the colored wires ( red, green, blue, or copper) transmit sound, and the single bare and uninsulated wire is the basis wire.
- Cut the wire. If the wires inside are shredded and threads are showing, cutting the headphone wire. Do this so that they'll be more uniform and easier to piece of work with.
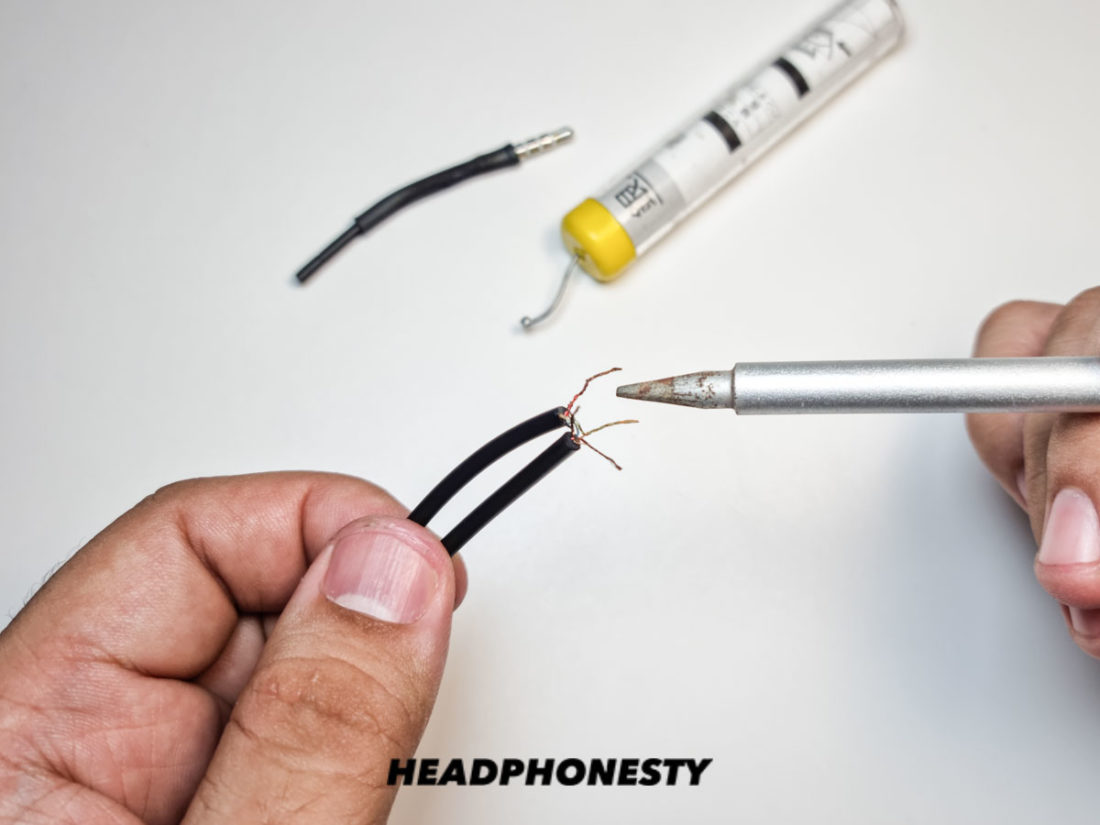
- Sand the wires to expose the copper. Earlier soldering, sand-off the thin enamel glaze on all the wires including the footing wire. Sand away until the copper is exposed. If you don't have sandpaper on hand, you lot can also burn it off using a soldering iron or a lighter.
Burning off enamel coating - Twist together and solder. Twist the wires together and solder the connections. Use your soldering fe to melt a thin coat of solder over the wires. Let the wires and solder fix and absurd completely.
Soldering headphone wire Before you begin soldering, make sure to wear proper Personal Protective Equipment (PPE). This protects you lot from exposure to harmful chemicals as well equally to avoid inhaling soldering fumes which can be unsafe to your health.
- Wrap each wire carefully with electrical tape. After the internal wires accept cooled completely, wrap each wire with electrical tape to keep them from touching each other and avoid any possible short-excursion situation.
Group wires with electric tape - Insert and heat the oestrus-shrink tubing to securely comprehend the headphone cord. Carefully insert the heat-shrink sleeve into your headphone wire and use enough heat to it in order to constrict it. This sleeve will protect and insulate your newly-repaired headphone wire. Alternatively, you may also use electrical record to wrap the wires if you don't have estrus-shrink tubing on hand.
Cover with estrus compress
To better understand the soldering process, lookout man this youtube video.
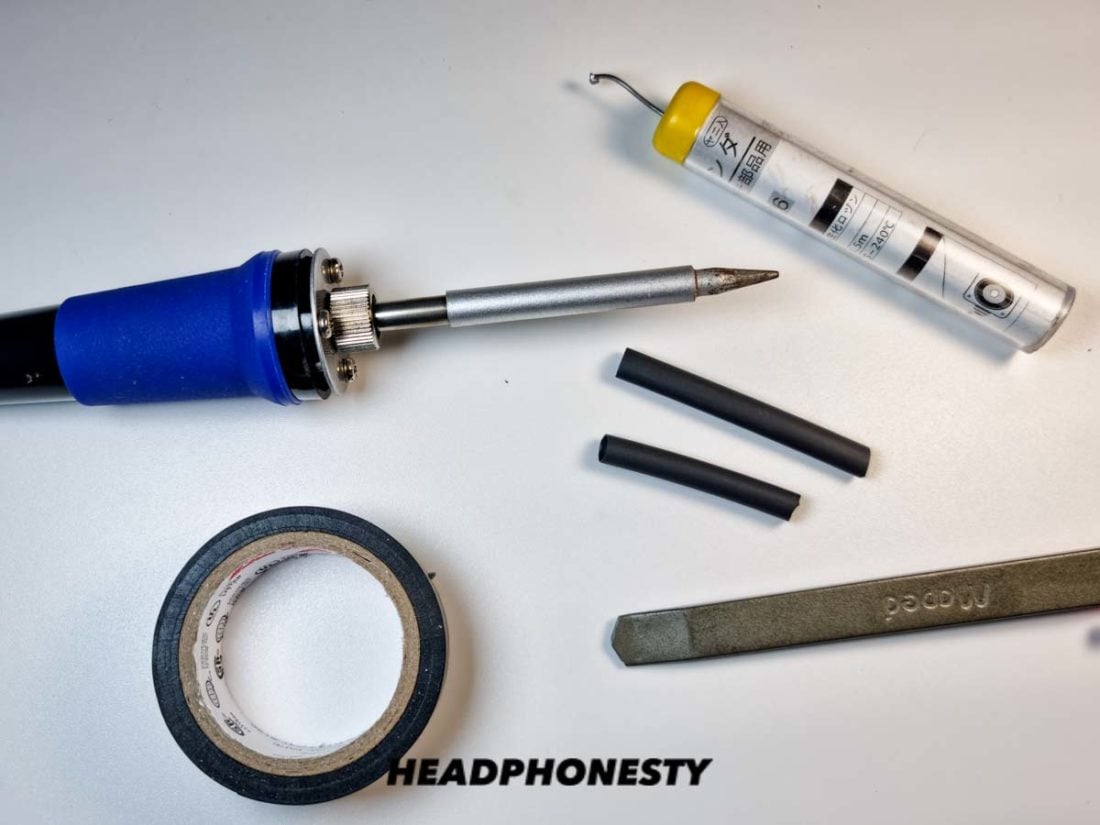
Repair without soldering
If yous're not that handy with soldering, no worries! You tin however set up your broken headphone wires with simpler tools.
To do this, you will demand:
- Wire stripper (or cutter)
- Lighter (or sandpaper)
- Electrical record / heat-shrink tubing
- Pair of scissors
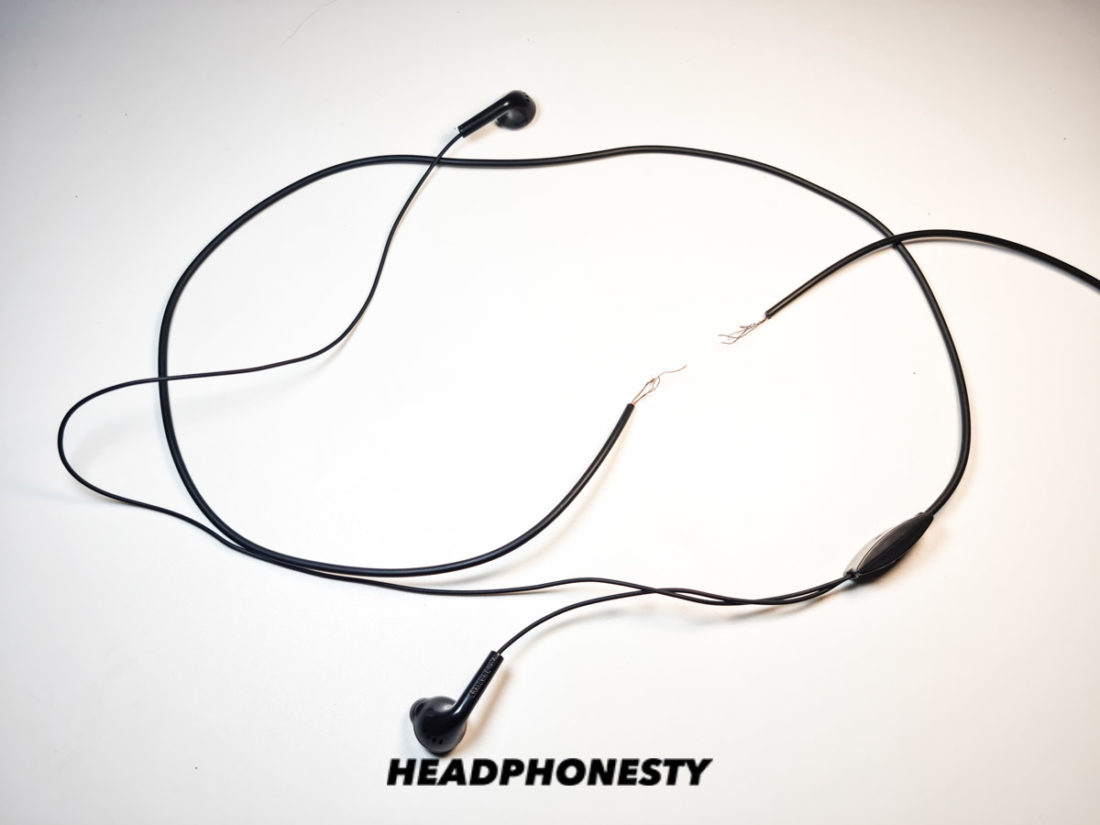
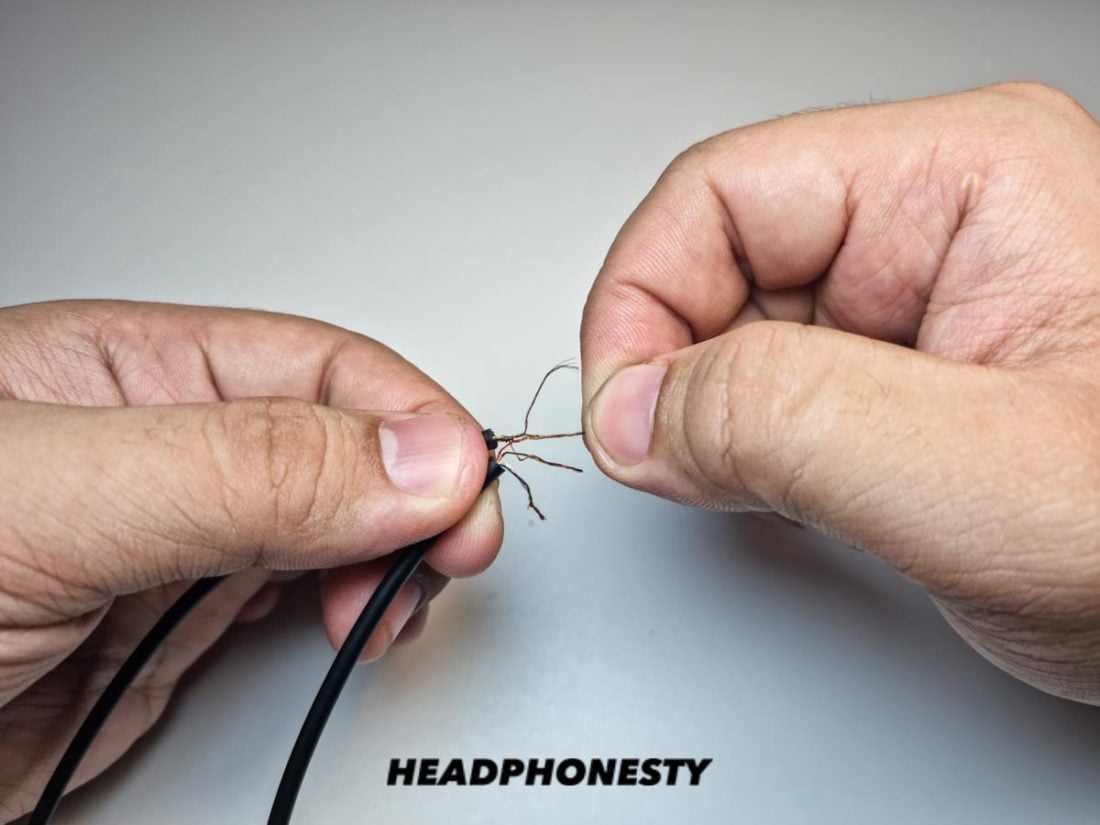
- Remove the condom covering or sheath. Using a wire stripper (or cutter), remove the safe roofing of the wire to reveal the stripped wires. Exist very conscientious not to cutting through the wire.
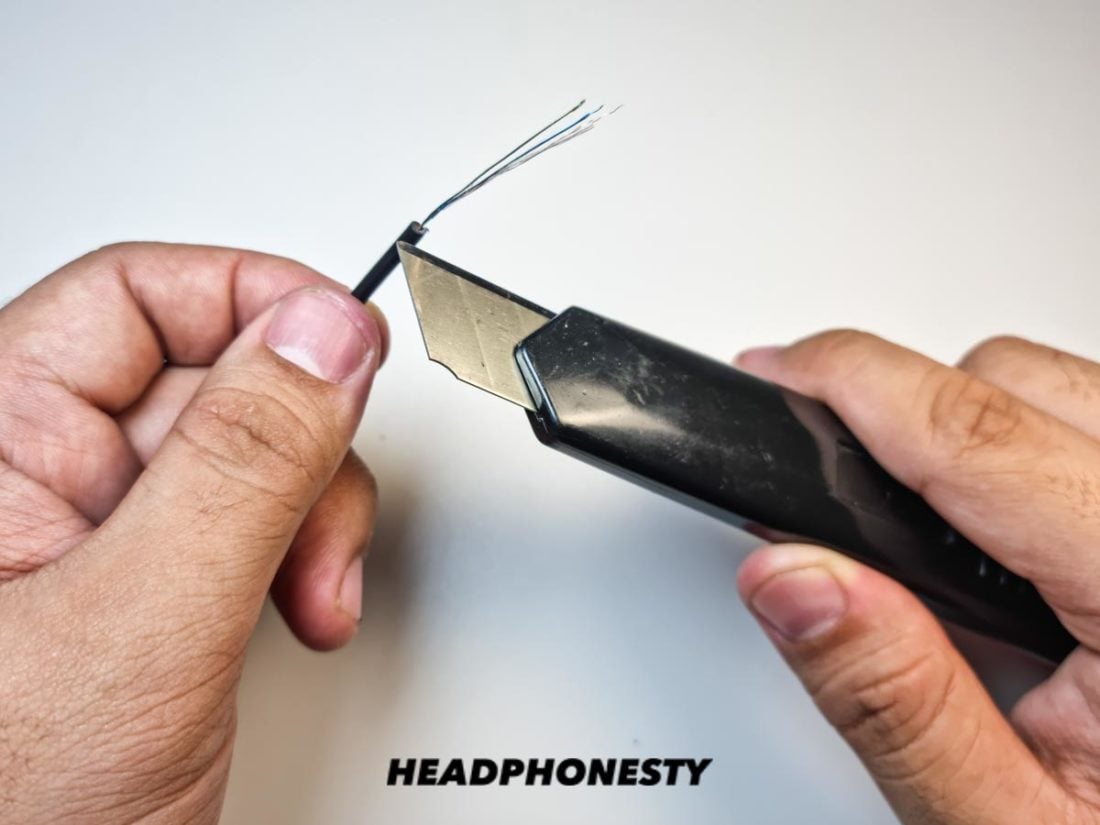
Remove rubber coating - Separate the wires past color. Dissever the colored wires (right headphone cable = red wires, left headphone cable = bluish/green wires) from the other wires by twisting them together and moving them to the side. Too, do this with the footing wires (copper or gilded wires). Echo the aforementioned to the other side of the cable. If you want an illustration of how it's done, this youtube video will show you how.

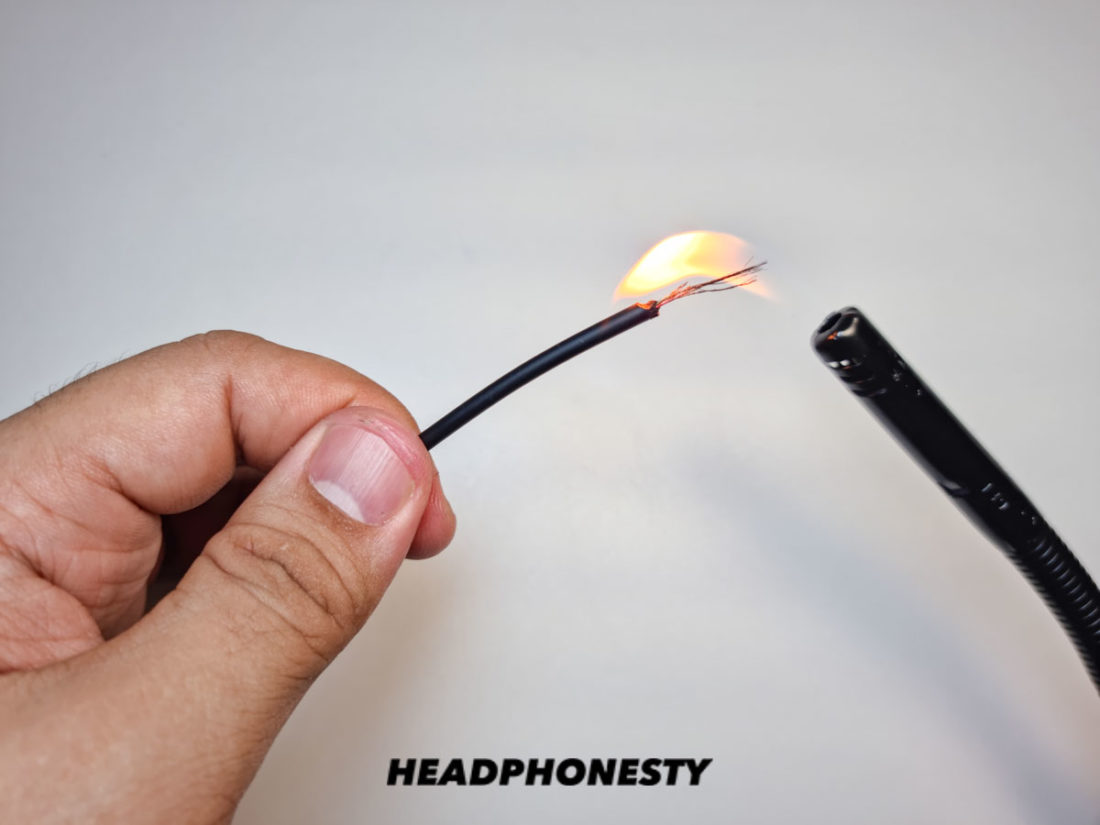
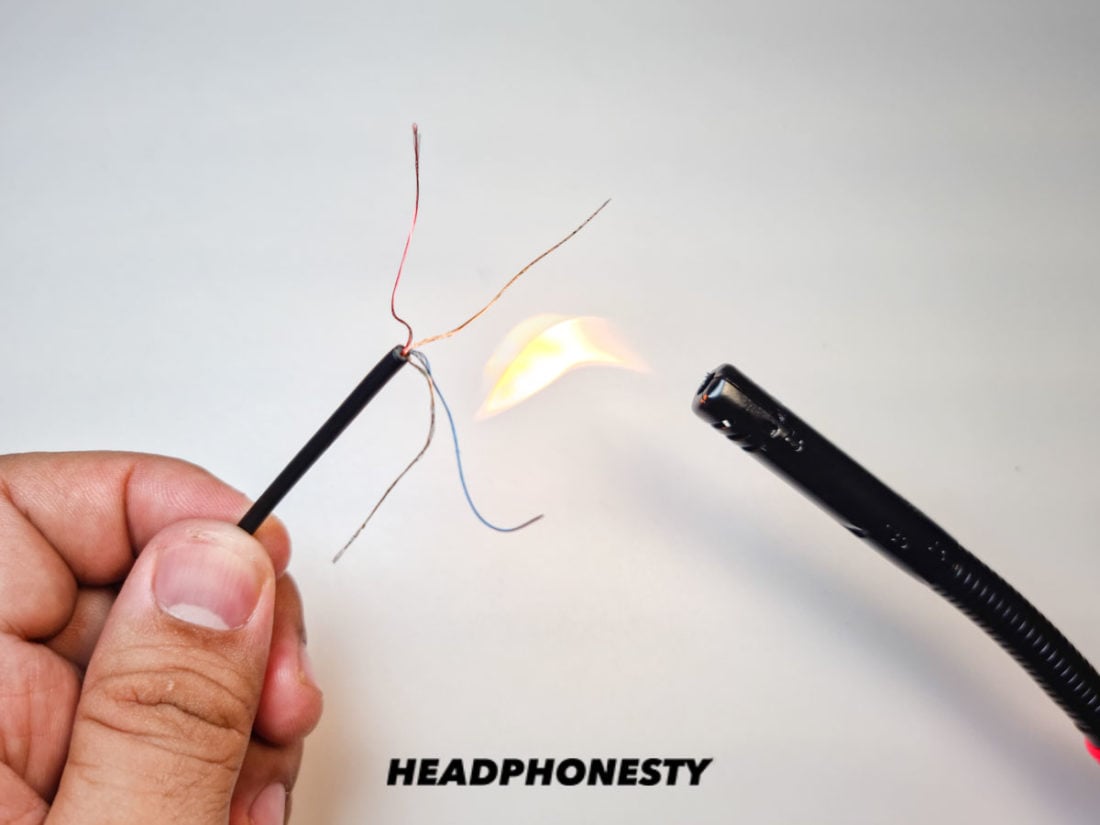
Separate headphone wires by color - Melt off the thin enamel coating. Melt-off the enamel coating (colored varnish covering the wires) using a lighter (sandpaper can also work). Echo the same to the other side of the cablevision.
Brand certain to exercise this very speedily (nigh only for a split second) every bit varnish burns easily and overheating information technology can cause the wire to melt. When the varnish burns at about 1 to 1.v cm, blow on it quickly.
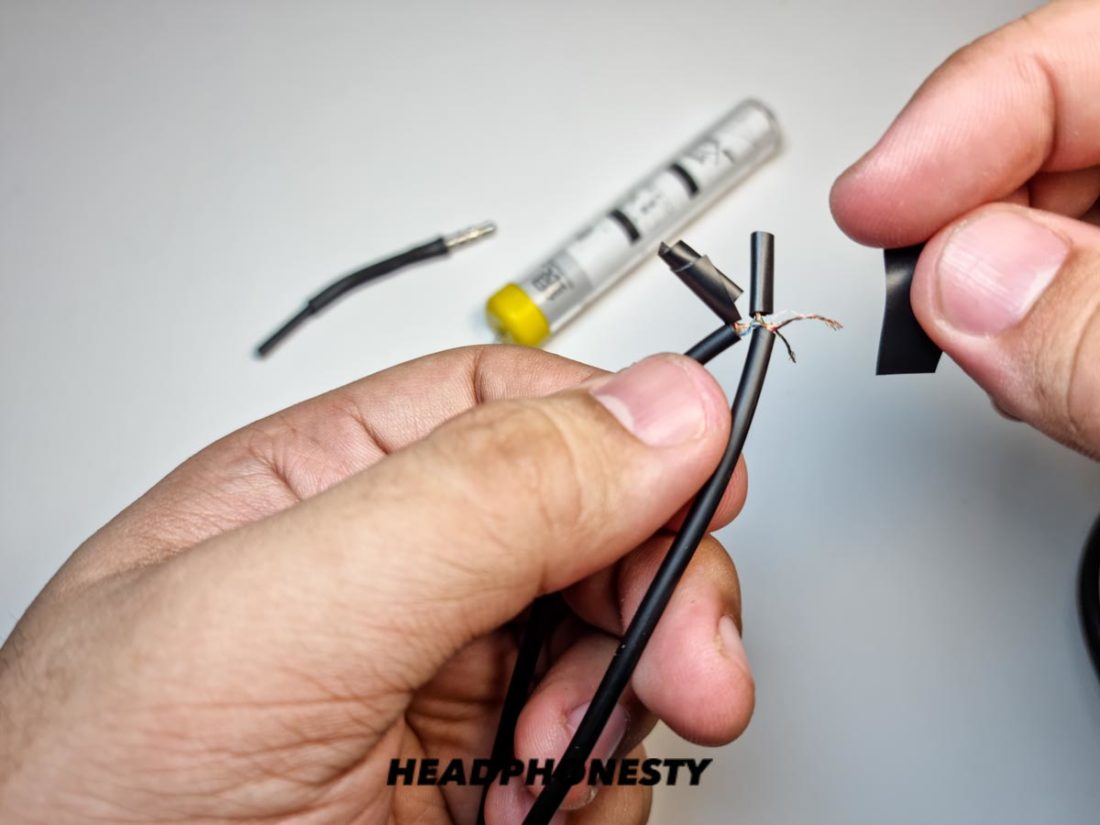
Melting the enamel blanket. - Isolate the wirings. Splice the colored wires from either side by twisting them together. Afterwards, use electrical record to isolate the colored wires and the footing wires from each other.
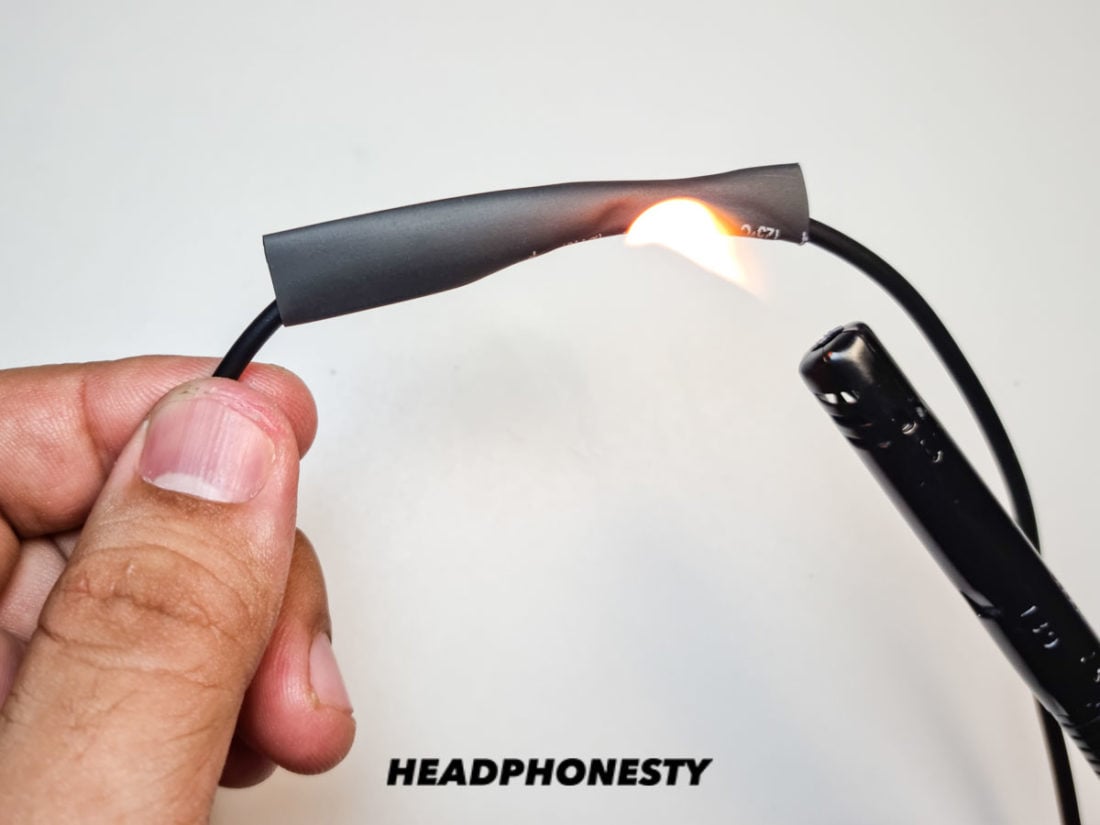
Isolating the wires - Wrap it up. Wrap the wires together past using electrical tape or by using heat-compress tubing.

Replacement headphone wires that yous can endeavour
If the discussed repairs can't prepare your headphone wires, replacing them may be the wiser move. Nosotros've listed downwards a few that are relatively inexpensive options. But if you're thinking of ownership high-end cables, come across if it's worth it past going through our in-depth guide on expensive headphone cables.
If non, feel free to get through our recommendations for some replacement headphone wires that yous can attempt:
These replacement wires only work for headphones with detachable cords.
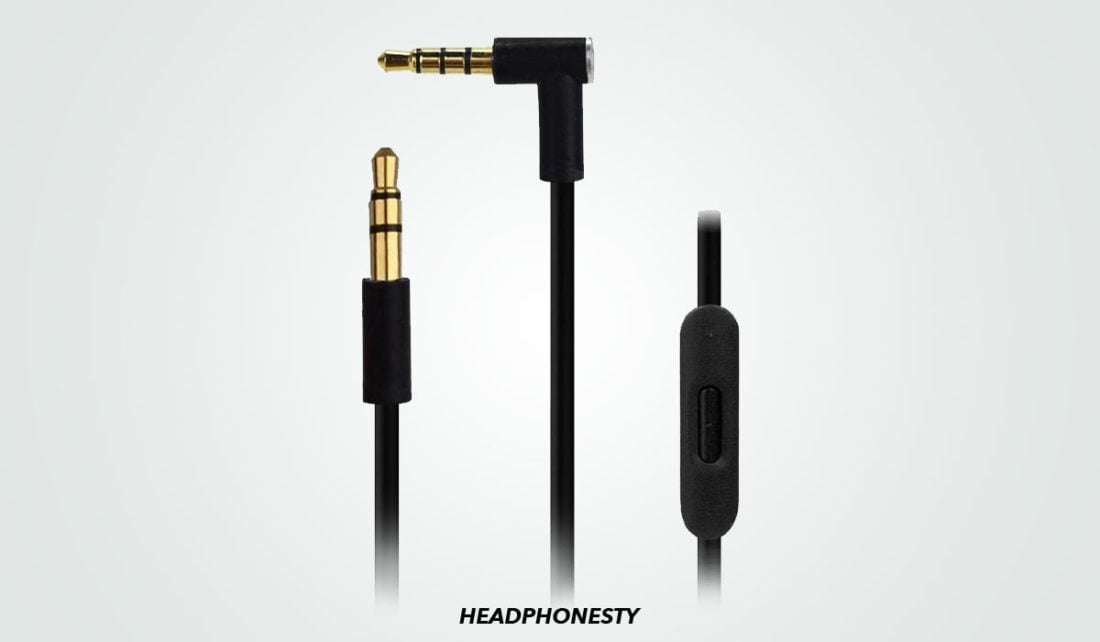
LANMU replacement cable
These LANMU Replacement Cables are made of high-quality transparent PVC. The wires are not easy to knot and then information technology remains intact even with everyday use. Its durable structural support also gives it a proficient tensile strength.
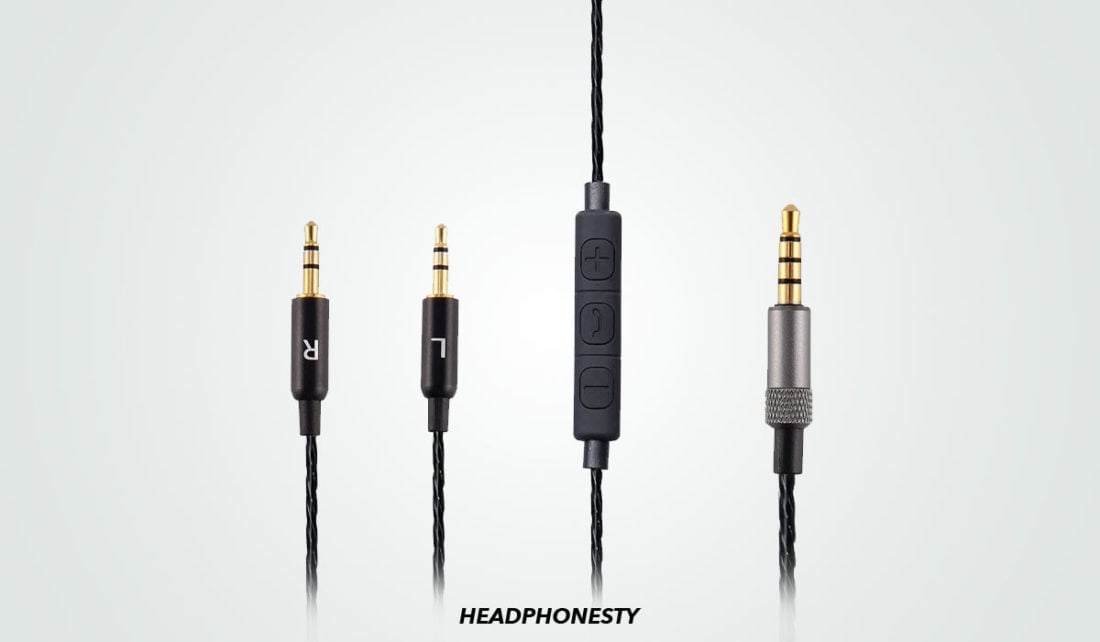
Earla Tec replacement audio cable cord wire with in-line mic and control
This Earla Tec Replacement Cable is compatible with Beats Studio, Executive, Mixer, and Apple iPhones. Its cablevision material is TPU coated, soft, tangle-free, and durable. This is a good option for those who are looking for a replacement cable that also has an in-line microphone and control setting.
Take note that its remote part only works on Apple devices.
Fancasee 2-pack replacement cord (wire open stop)
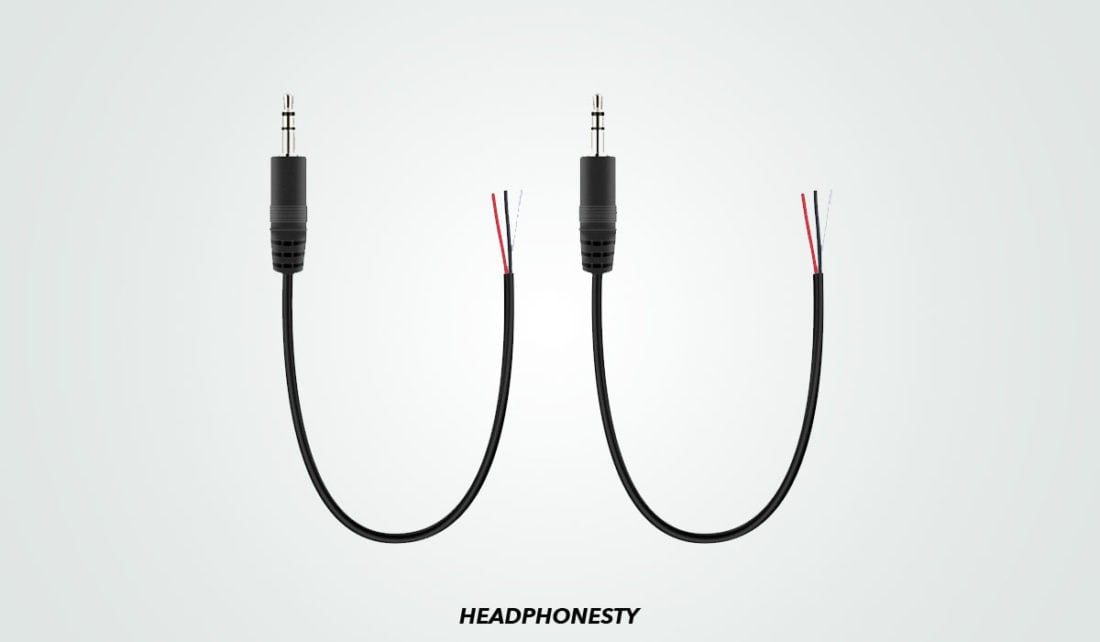
This Fancasee 2-pack Replacement Cord is the perfect replacement for lost or worn-out headphone wires with a 3.5mm male plug connector. It is like shooting fish in a barrel to install. Merely connect the respective bare wires together and wrap them. Finally, secure the bare wire using electric record or heat-shrink tubing.
Conclusion
Not all broken things demand immediate replacement. Sometimes, a little DIY repair can fix the problem. There'south aught more fulfilling to an audiophile than to have that worry-gratis listening experience.
If your headphones are experiencing any other problems, feel free to check out our ultimate guide on how to fix broken headphones.
We hope this article helped you find the answers you're looking for. If you've successfully 'saved' your headphone wires using the tips above, we'd love to hear it. Share your feel with us by leaving a comment below. As well, if y'all have whatsoever other tips and tricks y'all tin can swear by, do share them with us!

Source: https://www.headphonesty.com/2020/12/fix-headphone-wires/
Posted by: hubbardcomys1975.blogspot.com
0 Response to "How To Repair Without Soldering"
Post a Comment